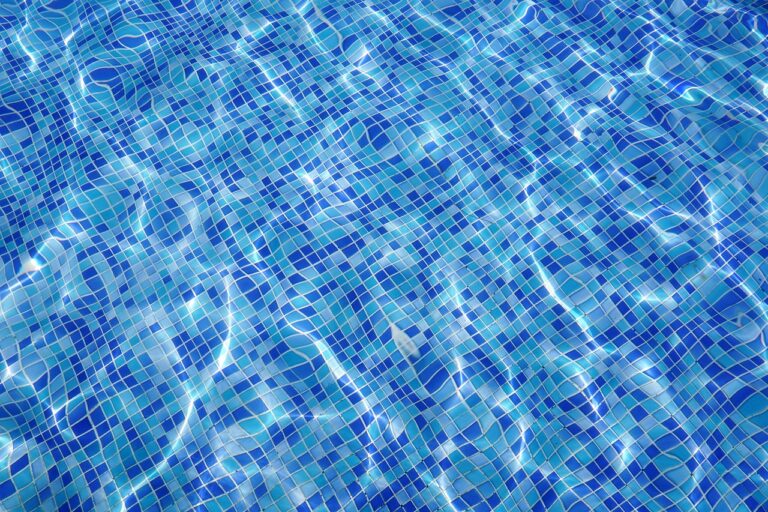
There are many solar pool heaters out in the market claiming to make life easier. But opting to make one’s homemade solar pool heater may prove to be a better decision since it uses inexpensive materials and is easy to make.

Homemade Squirrel Repellent
Squirrels can cause heavy damage on vegetables if not handled properly. Develop simple yet effective homemade squirrel repellents and eliminate this problem. Create homemade squirrel repellents and maintain the integrity of your garden.
Homemade Hummingbird Nectar
Homemade hummingbird nectar can be as nourishing as commercially sold products. Create your very own homemade hummingbird nectar and keep those birds coming to your garden. Keep insects away when feeding hummingbirds and evade common feeding mistakes.
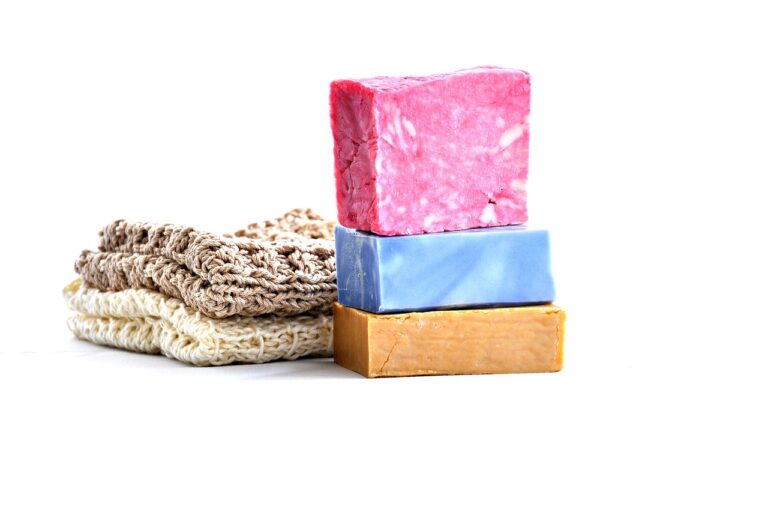
Homemade Soap
Soap is a commercial product that is used for cleaning and washing. The product can come in gel form, bars or liquid form. To save money, you can follow the simple steps and look at different recipes of homemade soap.
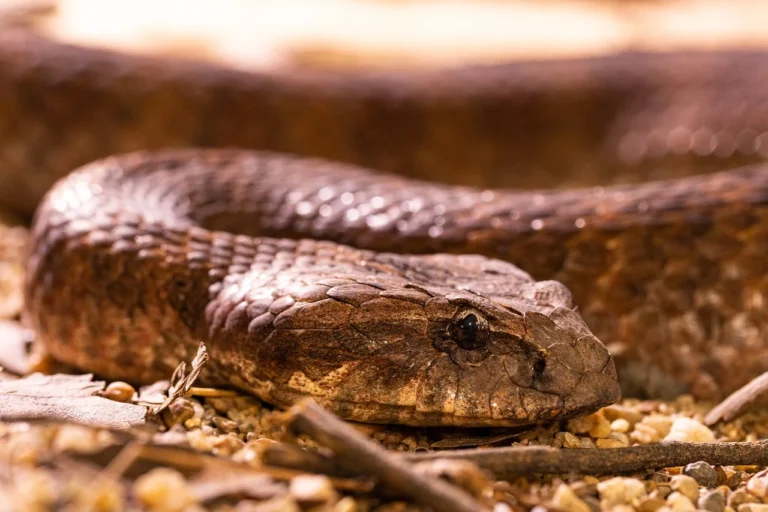
Homemade Snake Repellent
Snakes are poisonous and dangerous species that can harm you. To prevent the species from entering your house, it is important that you know how to make and use homemade snake repellent.
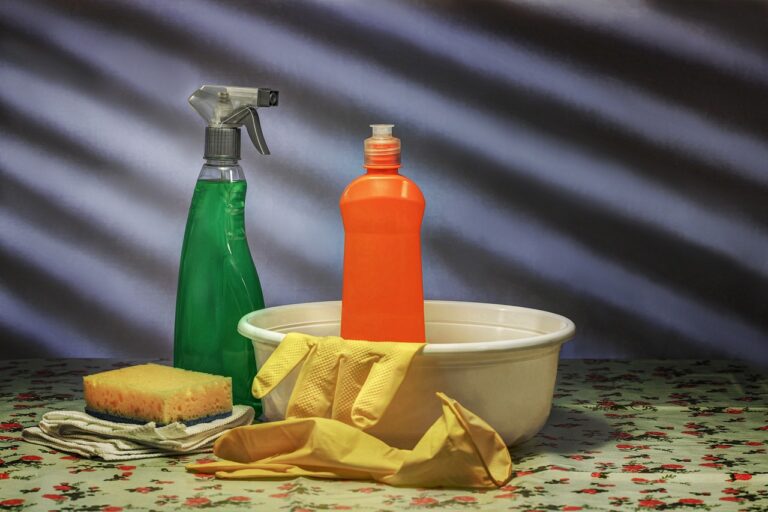
Homemade Cleaners
Using homemade cleaners bring a lot of benefits and savings. The fact that these cleansers are a whole lot cheaper than commercial cleansers you can buy at the store is enough to perk one’s interest. Another plus is that these homemade cleaning kits are very easy to make and use.
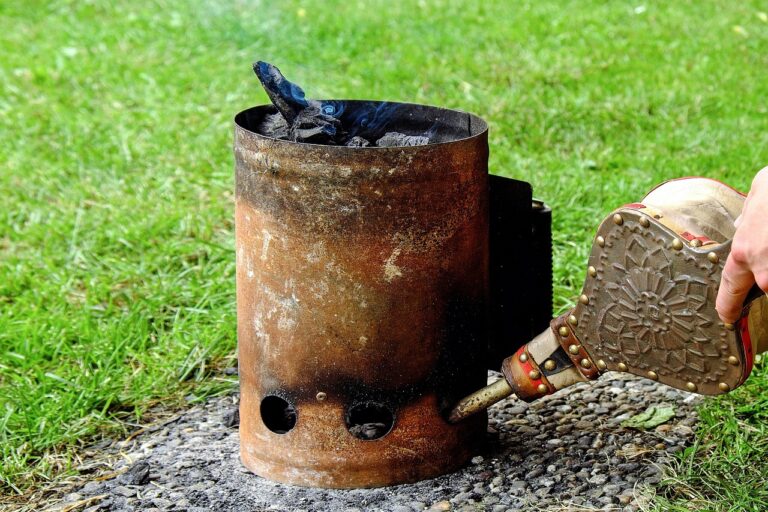
Homemade Charcoal Chimney
Setting up a homemade charcoal chimney only requires a few basic tools. Create homemade charcoal chimneys using average hardware tools. Get familiar with the ins and outs of creating charcoal chimneys and make one like a pro.
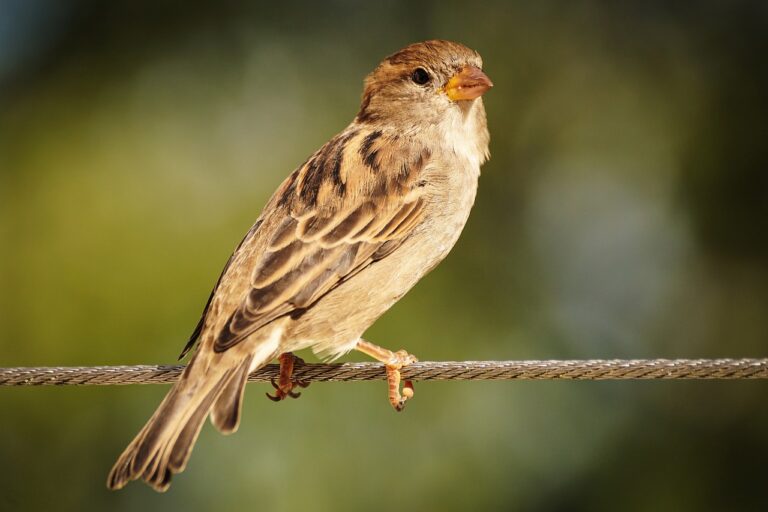
Homemade Sparrow Trap
A homemade sparrow trap can help you manage and deal with these birds successfully. Create a working sparrow trap by using the right materials and tools. Develop a homemade sparrow trap in an efficient manner by utilizing tested techniques and procedures.

Homemade Laundry Soap
Laundry detergent is a product that can be used to clean dirty clothes. To save money from buying the detergent, you can make your own detergent by following the procedures in different homemade laundry soap recipes.
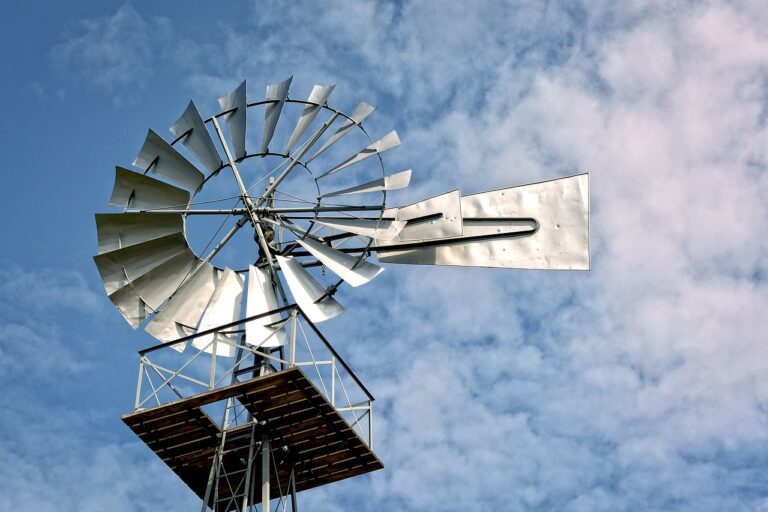
Homemade Wind Generator
A homemade wind generator can provide additional energy and power to your home. Create a homemade wind generator and save on energy costs and expenses. Prevent accidents with your wind generator by keeping some handy tips in mind.

Homemade HDTV Antenna
Putting together a homemade HDTV antenna allows you to get clear reception without the exorbitant costs. Put up a homemade HDTV antenna and watch on distortion free channels. Avail of common everyday materials and make antennas that will work for you.
Homemade Rain Barrel
Making your own rain barrel lets you keep rainwater and reuse them again. Make homemade rain barrels and utilize the water for household purposes. Understand the process of creating homemade rain barrels and employ it to water plants and more.