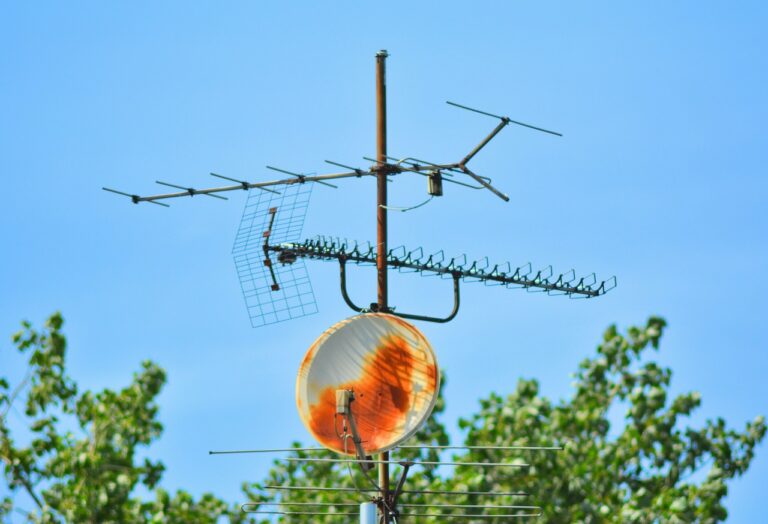
Properly assembled, homemade TV antennas can clarify signals as well as commercially sold items. Improve the reception of channels by making homemade TV antennas. Create your TV antennas using simple and easy to understand procedures.

Homemade Mosquito Repellent
Mosquitoes carry various diseases and should be kept out of homes. Use homemade mosquito repellents and keep your family safe from ailments. Set up your homemade mosquito repellents and prevent these insects from affecting you.

Homemade Ant Killer
There are practical ways on how to make a homemade ant killer. This is done mainly by mixing liquids into a solution. There should be homemade ant killer liquid solutions for indoor and outdoor use.

Homemade Weed Killer
You’ll be saving yourself a lot of money if you settle for a homemade weed killer. They work just as well as commercial weed killers minus the harmful chemicals plus the savings. The very ingredients for a homemade weed killer can be found within the corners of your home.

Homemade Rabbit Repellent
Homemade rabbit repellents will keep these animals at bay only if they’re made correctly. Assess the pertinent points when making homemade rabbit repellents and avoid mistakes. Get the facts about creating rabbit deterrents and how to make them without hurting the animal.

Homemade Pet Odor Removal
Homemade pet odor removers can be just as effective as commercially sold products if done properly. Try different homemade pet odor removers and eliminate those foul smells and stains. Maintain the fresh smell of your home by getting rid of foul pet odors.
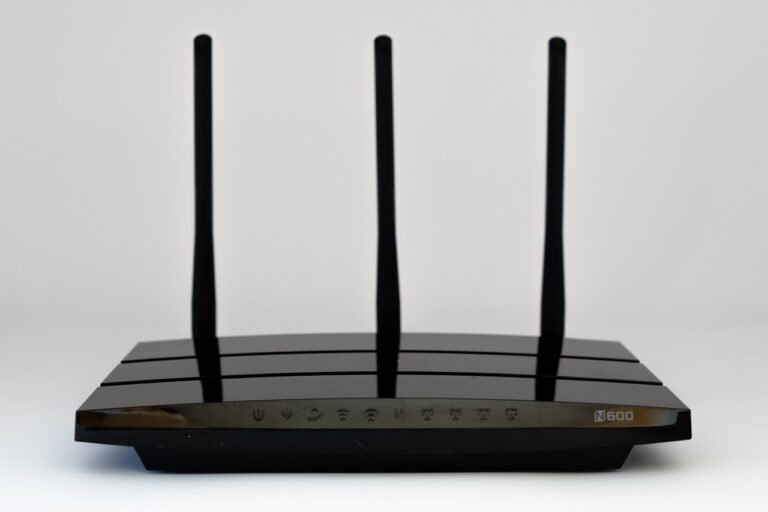
Homemade Wireless Signal Booster
A few simple tools are all it takes to make homemade wireless signal boosters. Give your wifi signals a lift by creating your own wifi boosters. Make the most of your wifi access with some homemade wireless signal boosters.
Homemade Douche
Whether you use homemade douches or the commercial branded ones, using a douche or not often become a discussion. A healthy vagina has the ability to clean itself whether you use a douche or not. If you still plan on douching, then take comfort in the fact that you can make one from regular household materials.

Homemade Rust Remover
Rust can affect a lot of objects but there are ways they can be removed. By using homemade rust removers you’ll be able to restore the object’s shine without spending a fortune. Discover means for creating homemade rust removers and get rid of corrosion.
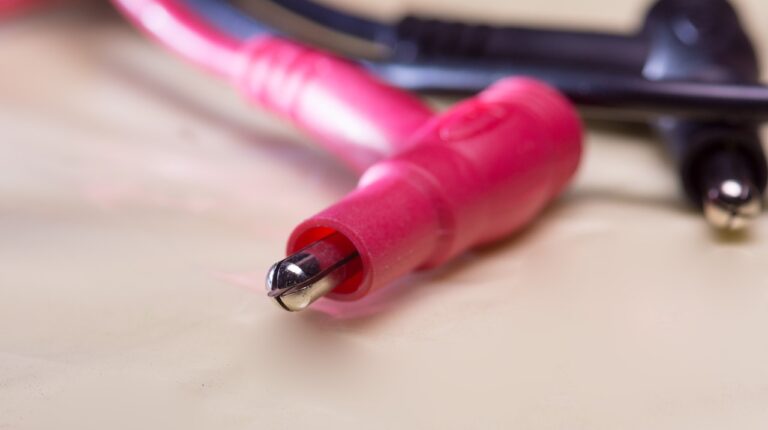
Homemade Cable Tester
By assembling a homemade cable TV tester, you can avail of its functionality and eliminate the need to buy one. Install a homemade cable tester and make it work for you. Get the facts about homemade cable TV tester and how it is used correctly.

Homemade Wifi Antenna
Setting up homemade wifi antennaa won’t take long if the correct procedures are followed. Set up your own wireless networking with everyday tools and equipment. Explore the ins and outs of installing homemade wifi antennas and get stronger Internet access.

Homemade Cat Repellent
A few simple ingredients can make for very efficient homemade cat repellents. Create homemade cat repellents and keep your yard clean. Stay away from common mistakes made when using cat repellents and develop efficient deterrents.