
Constructing an upside down tomato planter is a cheap yet effective gardening tool. Make your own homemade upside down tomato planter and save on costs without spending large amounts. Cultivate your tomatoes with homemade upside down tomato planters and watch them grow.
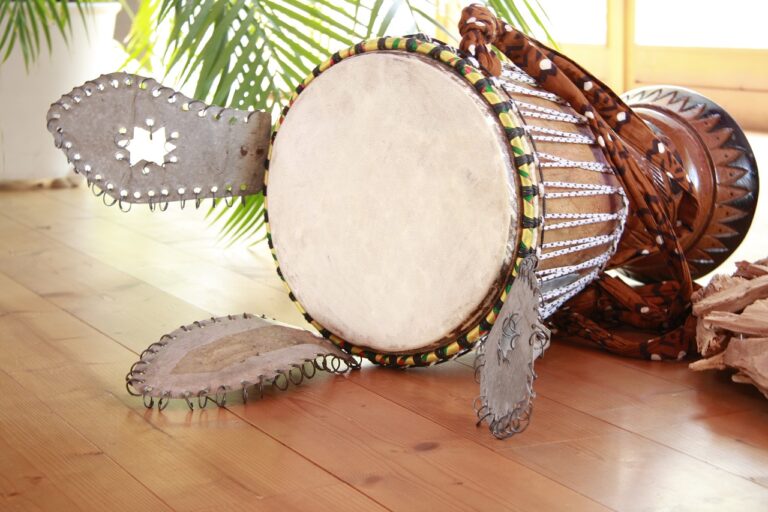
Homemade Musical Instruments
Homemade musical instruments are easy to assemble and can be a joy to use. Create homemade musical instruments and have fun playing them. Play some music with your friends and family by creating simple instruments.

Homemade Bird Feeder
Homemade bird feeders can be made with a few simple tools and materials. Assemble your own homemade bird feeder without spending a fortune. Discover different ways of making bird feeders and watch the birds flock to your creation.
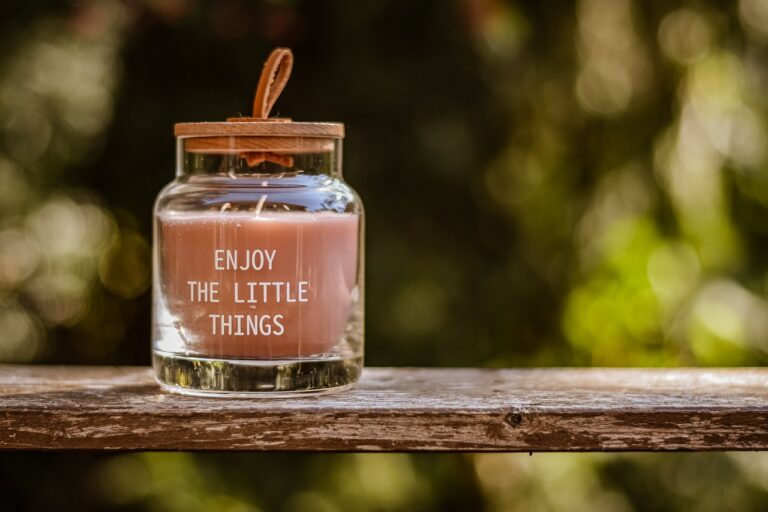
Homemade Mother’s Day Gifts
There is no shortage of gifts you can buy mom for Mother’s Day. However, it is also very easy to prepare simple but elegant homemade Mother’s Day gifts. Create some homemade gifts for mom and make Mother’s Day for her unique and one to be cherished.

Homemade Romantic Gift Ideas
It is so easy to just dig in your pockets to buy a gift for your partner. But when there are times that the budget do not coincide with the prices of the gifts you like, opting for homemade romantic gift ideas would be a better idea.

Homemade Smokers
Homemade smokers can be made using inexpensive materials. Setup a homemade smoker properly and avoid mistakes when cooking. Save on costs by making your own smoker instead of buying the pricy products in stores.

Homemade Lock Picks
You don’t have to spend a lot of many to make homemade lock picks. If you scout for the right materials you will generally just invest around a couple of dollars. If you’re new to lock picking and making lock picks then you should expect to spend slightly more than this since it is expected that you’ll be making mistakes along the way.
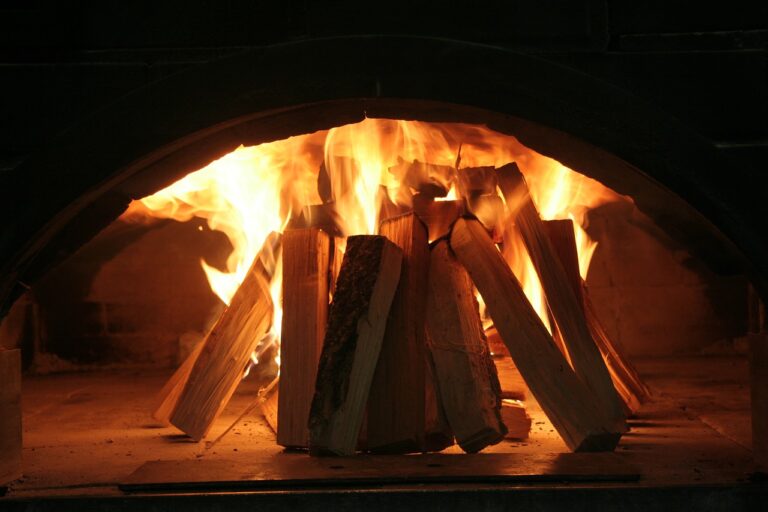
Homemade Wood Stoves
Making a homemade wood stove will prove to be quite a tough project. Some experts even go to such lengths as to not recommend building one. Be sure to take all necessary safety precautions and use the proper tools and materials to build your own homemade wood stove.

Homemade 4th of July Decorations
Show your patriotic spirit with some homemade 4th of July decorations. Put up creative homemade 4th of July decorations and show your love for Old Glory. Add some life to 4th of July festivities with some easy to make but lovely decors.

Homemade Charcoal Grills
Various items and materials can be used as homemade charcoal grills. Explore the many ways for making homemade charcoal grills and enjoy some great cookouts. Keep away from accidents when making charcoal grills with some tips and hints.

Homemade Pig Roaster
Roasting a whole pig is a traditional thing to have in family get-togethers in some places of the world. It will take the effort of all your friends and family to make a homemade pig roaster. You will actually need a couple of days in order to prepare the pig and the roasting pit along with the actual cooking.

Homemade Coupons
Homemade coupons can be an ideal present and are very simple to create. Discover the ways of creating homemade coupons and how to decorate them. Make several coupons and give your friends unique and personalized gifts.