Christmas is a time of caring and sharing. An iconic part of Christmas is the sight of a beautifully decorated Christmas tree, strewn with gifts of all shapes, colors, and sizes.
During this season, more gifts are exchanged than at any other time of the year. Friends and family members alike, look forward to this time of year to unwrap gifts from loved ones.
Logically, therefore, we tend to spend loosely at Christmas. However, there are many ways to cut costs at Christmas time. One of the many ways to exchange heartfelt and cost-effective gifts is to make a homemade Christmas hamper
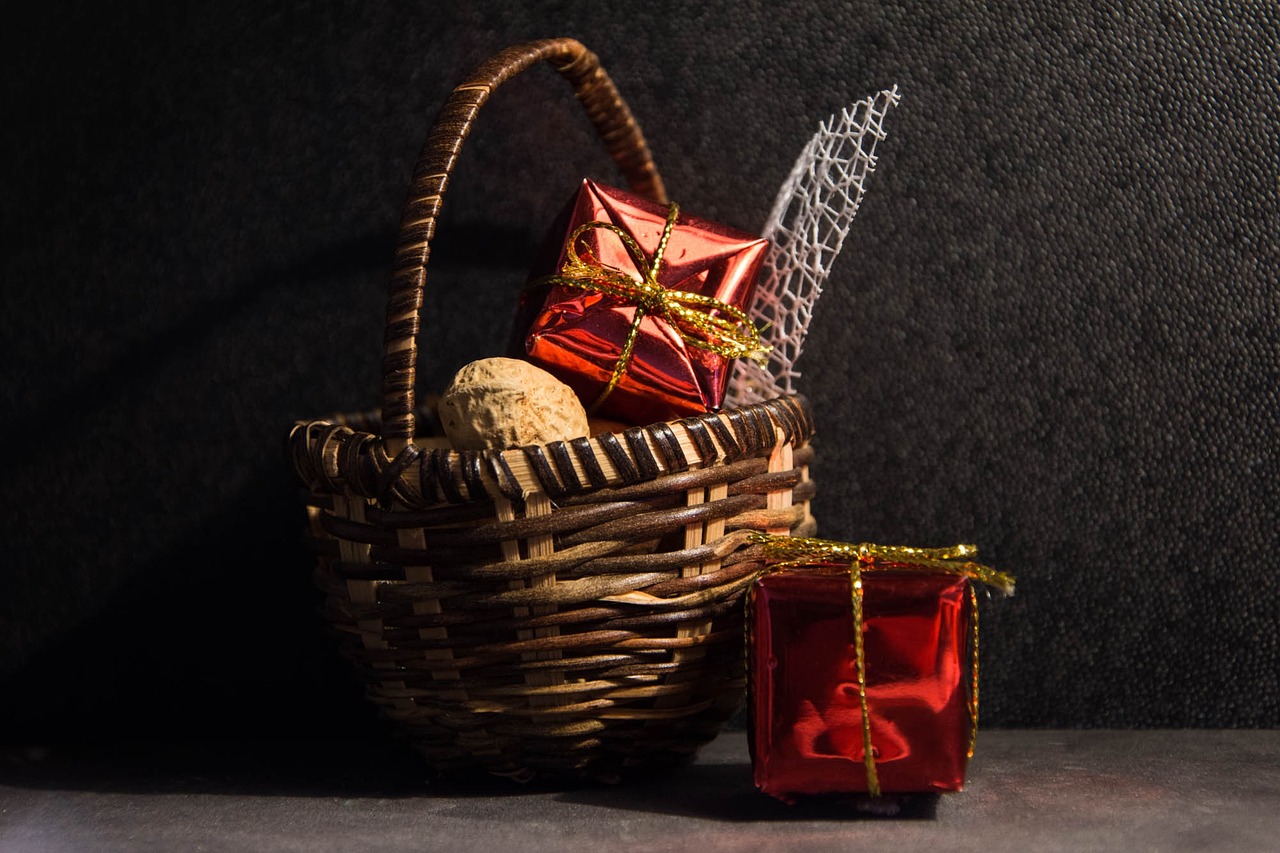
A Hamper is most commonly referred to as a basket. However, depending on your Christmas budget your “hamper” may take one of many types. Traditionally a wicker basket is used to make a gift hamper. You may however use a cardboard box, a bowl; plastic or glass. Your selection of hamper (container) will be influenced by the presentation you desire to create.
For wicker hampers, you may select the traditional brown shades or colored wicker preferably red or green, or a mixture of both colors. Your cardboard box may be found right around the household and could be personally decorated to your liking.
Having chosen your container, the next step is to gather materials such as cellophane paper, clear tape, a bow, gift ribbon, shredded paper, or tissue paper which can be used as a substitute.
Then you select the items for your hamper. Selected items are dependent on the recipient. The choice will say how well you know the person as well as your thoughtfulness.
Items may range from small household items, food, and books to more personal items like cosmetics. Hampers may be arranged based on a specific theme which also depends on the recipient.
Most likely, a hamper for a male may vary from that of a female; the same would apply to a hamper for a family member from that of a close friend, and consequently, a child’s differs from that of an adult.
More specifically, a Christmas hamper will denote the theme of Christmas, possibly color-coded in the cheery red and green of Christmas.
Having selected your items the next step is to organize the items in an eye-catching arrangement. You would then take your container and carefully pad it with the paper of your choice; preferably keeping them in the Christmas colors. The paper will provide height and visual appeal to your hamper.
However, using too much paper will cause your basket to be bulgy and items will not be positioned properly.
Next, you arrange the items in the basket; you may arrange them from tallest in the back and shortest in the front or tallest in the middle and the shorter ones around them in a circular format.
When wrapping the hamper, the best choice for gift wrap is the cellophane paper so items in the hamper may be visible. The arranged basket is then placed in the center of the paper which then generously envelopes the hamper.
The hamper is then gathered at the center to bring all sides together. You may now fasten with a gift ribbon and then add the bow to accent the overall presentation.