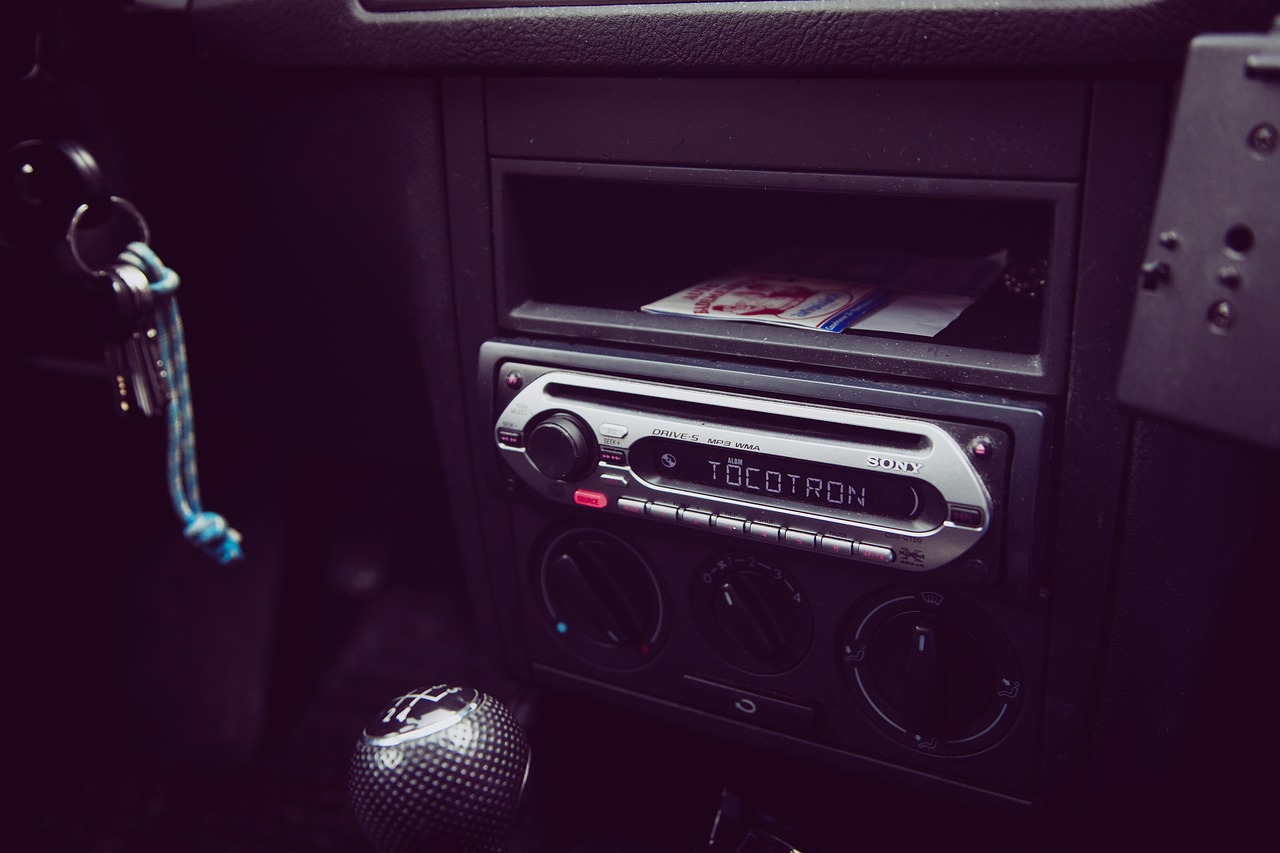
Installing your own car audio system is not that difficult especially if you have a bit of knowledge on basic wiring.
It will take a couple of hours or even less depending on how adept you are with handling electronic equipment.
Once you carefully read the instructions that follow, you should be well on your way to replacing your existing radio.
Required Materials
- Mounting Bracket
- Wire Harness
Required Tools
- Screw Drivers
Instructions
- Buy an audio system that will fit in your car’s dash. It should be made specifically for cars and should clearly state the dimensions on the packaging. If you are purchasing this stereo on the internet be sure you review the dimensions stated on the website before buying it. You will also need to purchase a wire harness, preferably one that is compatible with the stereo and the car’s dash.
- You should get a guide with the radio that states how the audio system should be removed and then installed. Use this to help you with the installation.
- Remove the negative battery terminal from the battery. This is very important as the electronic components in your car should not be worked on while it is still connected.
- Take out the dash panel that is placed over the car stereo. Remove your old radio using your screwdriver to take out the screws. You should see the wiring at the back it may be single-plugged or have multiple plugs for each colour-coded wire.
- Connect the wiring harness ensuring that you join the corresponding wires. This should not take too long and should be pretty straightforward.
- Put your new audio system into the mounting bracket and ensure you do not destroy any small parts. If the bracket does not fit you may need to use the bracket that comes with your stereo.
- Connect the harness connector to the area designated on the stereo. Plug the antenna wire into the new unit. If the antenna is a power antenna you may need to connect an additional wire into the unit.
- Put the assembled pieces into the dash. It should fit into the space. Before screwing it together, test the radio to see that it works, if it doesn’t work you may have to remove it completely.
- Put the negative battery terminal on the car’s battery.
- Turn on your car and ensure that you are getting proper sound from the stereo. Check to see that it can pick up radio channels and play your CDs. You should hear the specific sound coming from all the speakers connected to your car. Test the buttons and anything else that can be tested.
- If it does work go ahead and secure your radio into the dash while ensuring you do not damage any of the more delicate parts.
Tips and Warnings
- Always remove the negative battery terminal when working on electrical parts. Failure to do this can result in electric shock and damage to your electrical components.

