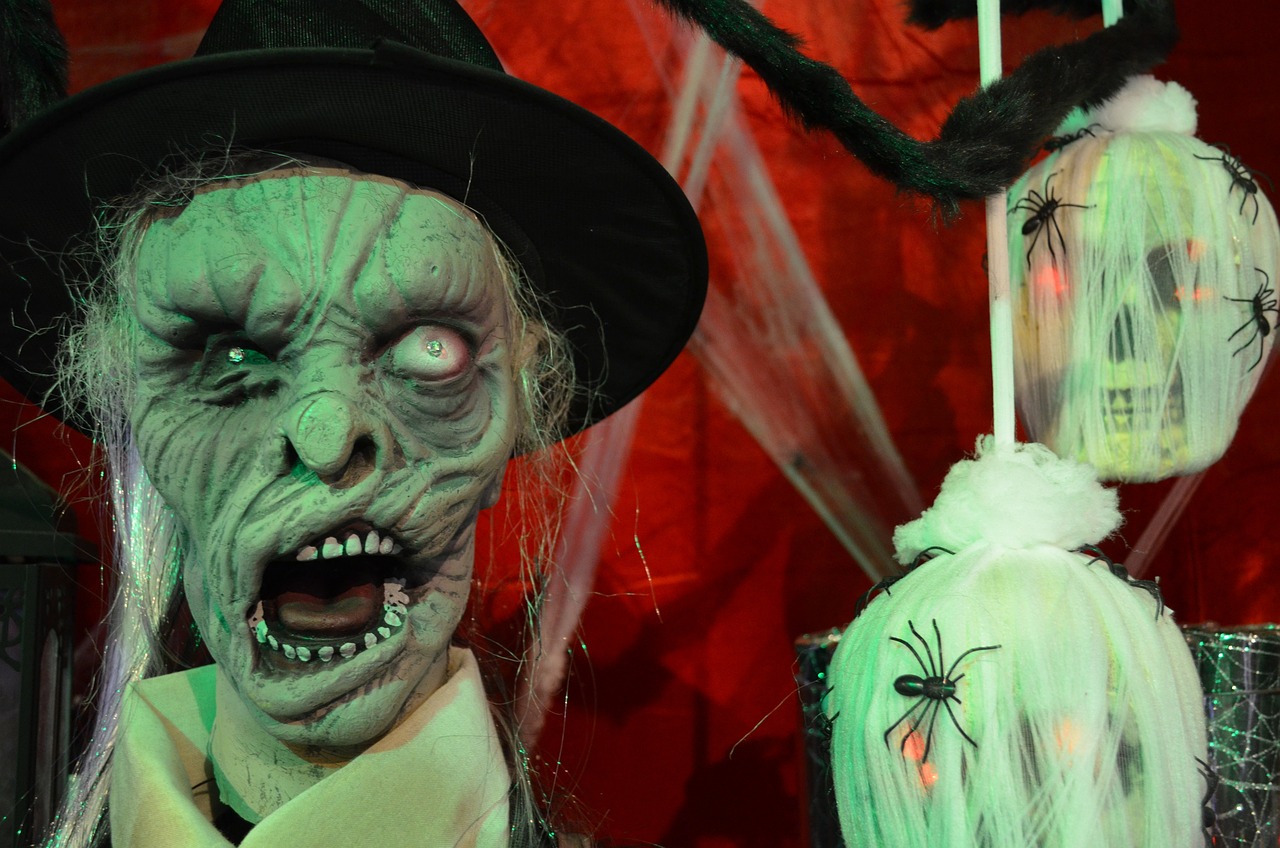
Here are some homemade Halloween decorations you can put up without too much trouble. These projects aren’t that complex and even kids can help you here.
Carton Spiders
Required Tools and Materials
- Scissors
- Black colored paint
- Egg carton
- Chenille stems
- Black thread
- Glue
- Brush
Instructions
One egg section makes up one spider, so cut as many as needed. Cut the bottom and flip it upside down. Start putting on the paint.
Be as creative as you want. Add touches of red or white stripes if you want. After the paint dries, create two holes in the middle part. Use the scissors for this task.
Get the thread and put it in the holes. The next step to making this homemade Halloween decoration will be the legs.
Get a pencil and make holes at the sides. Insert the chenille stems in the holes. Bend the stems to shape the legs. Put glue on the top center and attach the stems to the carton. Allow the glue to dry.
Now you can make the eyes. Get some pieces of paper and draw them. Paste it on the carton. When it’s dry, hang the spiders from the door or beside other ornaments.
Make a Pot Scarecrow
Required Tools and Materials
- 2 clay pots (8 in)
- 8 Clay pots (2 in)
- Hot glue
- Clay saucers (one is 10 in; the other 6 in)
- Chenille stems (4)
- Buttons (bigger than the 2 in pot)
- Straw hat
- Raffia
- Felt scraps (orange and black)
Instructions
Begin this homemade Halloween decoration by painting the pots. Apply dark colors and let it dry. Assemble the pots together to make a human body.
The six-inch saucer must be glued with the bottom upwards. Use it to stick the hat in place. Give this structure a couple of days to dry.
Now it’s time to paint the pants and shirt. Make it appear like they are sewn. You can use orange for the shirt.
However, the color selection is really up to you. Paint the eyes and other facial features.
Get the buttons and glue them on. Put some glue on the felt and attach them to the hat. Tie the raffia strands. Glue and set them around the hat.
Make the arms. To make the arms of this homemade Halloween decoration, thread a button right into the chenille. Secure the button and put the chenille into the 2 in clay.
Secure another button a couple of inches above the clay. Put glue on the button.
Repeat this process for four pots. Then repeat it again for the other arm.
Get two chenille stems and join them. Attach this to the arm you just made.
Make a loop with the second arm and fasten to the chenille. Connect the loop through the stems.
Attach the arms to the neck area of the figure. Put some raffia around it to make the arms fuller. Use the raffia to make the hands.
When making these homemade Halloween decorations, feel free to make innovations.
You can make your decors cute or scary; it’s really up to you. The important thing is to have fun in the process.

